I have been desperately wanting to have a go with my Baby Blossoms set so spent a happy afternoon the other day making these... I hope you like them! Leave a comment or get in touch to start making your own.
I criss-crossed the ribbon to look like the bodice of a wedding dress, and to hold the springtime wrap on the milk carton. I think in my mind I was creating a Spring Wedding favour. Fill these with chocolates, sugar coated almonds or beautiful card-making accessories like buttons, brads and ribbons (that would make amazing favours!)
The tag says 'Mr & Mrs'
The Flower is two Scallop Circles from Springtime Vintage DSP, some punched Pink Pirouette circles, brushed with Pretty in Pink ink, topped with two Boho Blossom punch centres and fastened with a Rhinestone brad. The leaves were handcut from the same papers.
Recipe: Big Shot, Milk carton die, Square Lattice texturz plate, Scallop Circle punch, Springtime Vintage DSP, Rose Red seam binding ribbon, Boho Blossoms punch, circle punch, Baby Blossoms and Tiny Tags set, textured Whisper White cardstock, Pink Pirouette cardstock, Rose Red, Not Quite Navy, Wild Wasabi, Pretty in Pink and Whisper White ink, Jewellery Tag punch, Basic Pearl, Rhinestone Brad, Dimensionals.
This is a Spring card I made for two of my recently promoted downline. You can't tell but I ran the satin ribbon through the Square Lattice texturz embossing plate too! I doubled up two Decorative Label punches to make a frame.
Recipe: Big Shot, Polka Dot texturz plate, Baby Blossoms and Bundle of Joy sets, Not Quite Navy, Whisper White, Rose Red and Baja Breeze cardstock and Ink, Whisper White satin ribbon, Subtles buttons, Basic Pearls, Decorative Label, Eyelet Border, Modern Label and Curly Label punches, Mini Glue dots, Dimensionals.
Sneak peek of Michelle's workshop make and take on Thursday...
Please get in touch to book a space on one of my May classes (see above) to purchase from the Stampin' Up! Catalogues above or to book your own workshop and earn some free products and have fun!
Email me at: paperworks@hotmail.co.uk
Rhoda x
Creating, stamping, scrapbooking and general papercrafts with an independant Stampin' Up! demonstrator.
Showing posts with label Eyelet punch. Show all posts
Tuesday, 19 April 2011
Thursday, 10 February 2011
Baby Card and Valentine
Just a quick post to show you a new baby card I made today with no stamping!! Not intentionally, I only realised afterwards. The ribbon idea is from the front page of the catalogue. Recipe below...
I used Nursery Suite papers and Accents, Old Olive ribbon, Bashful Blue textured cardstock, Whisper White cardstock and Basic Rhinestones, plus Dimensionals, Snail Adhesive and Mini Glue Dots.
This is my Valentine, I borrowed the idea from Shelli at Convention but made it without looking back and the photos so I didn't get side-tracked by her (better) ideas!
I used Early Espresso textured cardstock, a Notecard, Newsprint and Love Letter papers, linen thread, Neutrals buttons, Brads, Basic Rhinestones, Modern Label and Eyelet Border punches.
If you would like to purchase these items for yourself and earn a free SAB stamp set please get in touch at paperworks@hotmail.co.uk
Please leave comments, they make my day!
Rhoda x
Saturday, 5 February 2011
Journals, candles and cards!
During the last month I have gone from having no downline and being the only Demonstrator in Shetland, to having four downline, with three of them friends and one family!
It has been lovely, exciting and challenging all at once! I've needed to really get to know my demo manual and be really focused so that I don't miss anything!
One of my downline (my cousin-in-law) is on the mainland and I've been thinking about various projects she could do with her starter kit, which prompted me to play around with a few things of my own.
Here are some of the projects. (Please note, some of the patterned paper and one stamp are retired but if you love them I can point you to current sets that are just as lovely!)
Valentines cards with little differences, lots of different ways to finish a card. Curly label punch, Love you Much set, Vintage Vogue set, Tiny Tags set, Heart to Heart punch, Basic Rhinestones, Very Vanilla textured cardstock, Rose Red textured cardstock and ink, Pretty in Pink ink and Pink Pirouette ink.
Finishes along the bottom: Basic Rhinestones/Eyelet Border punch/Early Espresso cardstock/Corner Rounder punch.
Board Journal decorated using Style Beautiful, Rose Red textured card, Clips assortment, pretty in pink taffeta ribbon, Vintage Vogue set, Boho Blossoms punch, patterened paper and pearls.
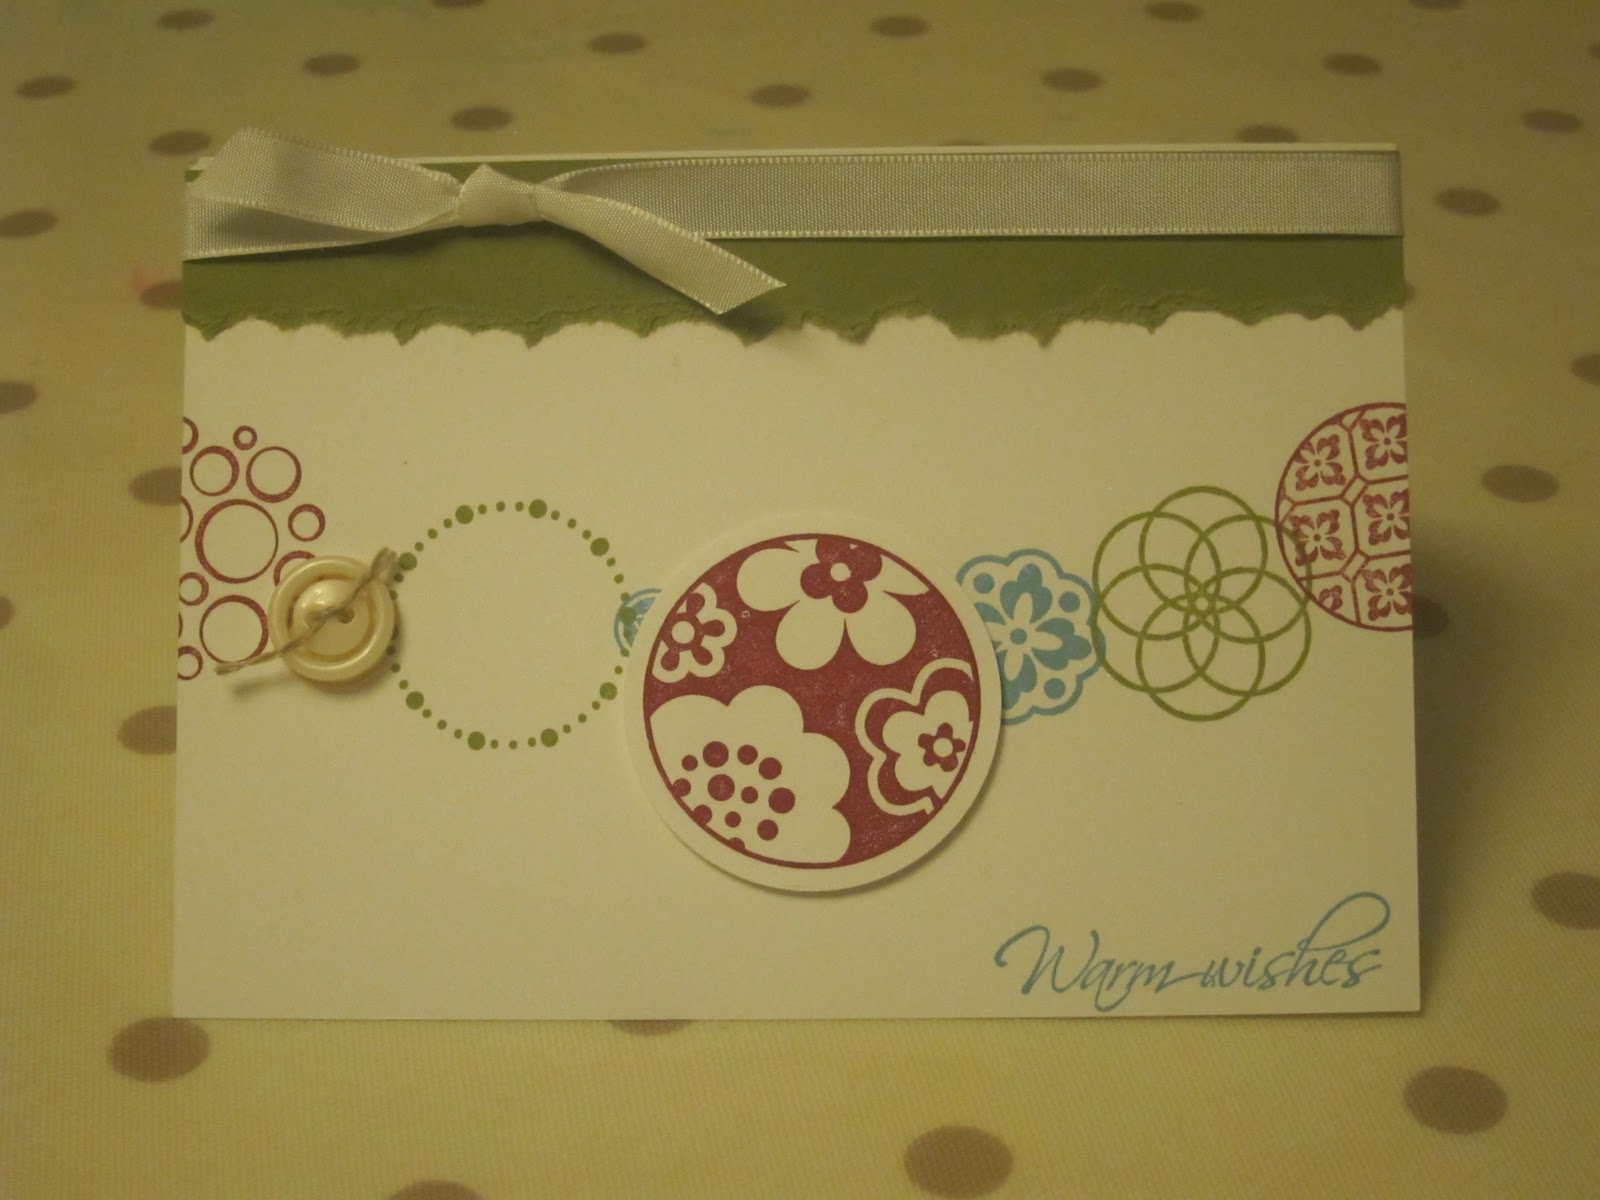
Slightly CASEd Circle Circus card using colours from suggested Starter Kit (see Becoming a Demonstrator page for more details) Old Olive, Marina Mist, Real Red, Whisper White cardstock and ribbon, Neutrals button, linen thread and greeting from Cheer & Wishes set. (sorry about photo colour, taken with poor light)
Stamped candles using Cherry Cobbler and Old Olive and the Fast and Fabulous set (very similar to the Botanical Blooms set which was a Sale-a-bration set two years ago and has stayed a firm favourite with me. Was so glad when they brought out this set! Growing Green is similar too). I will be punching tiny tag greetings and tying them to the wick with linen thread.
For instructions on how to stamp candles, please email me for a tutorial (cost £2.50) or attend my March classes where you will get to do one yourself! Amongst other things...
If you would like to purchase the items used to make any of these projects, or become a demonstrator for business or pleasure and would like my help and support, please email me on paperworks@hotmail.co.uk
Please leave comments, I love to hear from you!
Rhoda x
Subscribe to:
Posts (Atom)